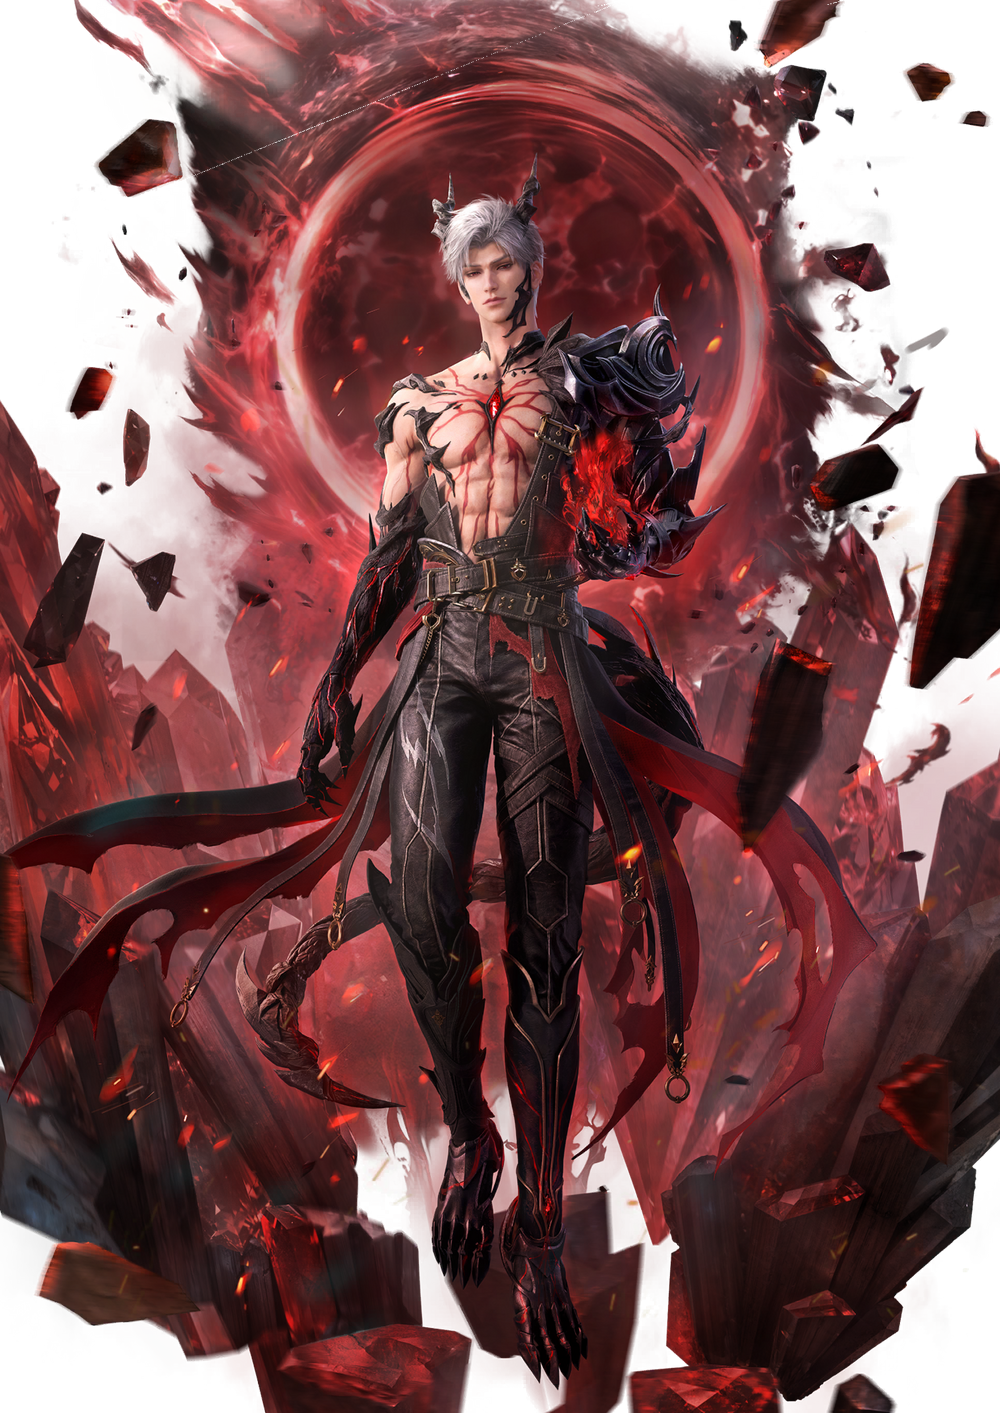
Sylus: Abysm Sovereign is an HP scaling companion that excels at raw damage in both stella matched and brute force stages. He is beginner friendly but still has a fun parry mechanic for those looking for a little challenge.
Column
Strengths
Hits hard with with relatively low investment
Support skill deals heavy damage
Simple kit with a forgiving rotation
Weaknesses
Tiny shield break AOE
Very EEB hungry, making his R0 difficult to manage in orbits
reso hold - support - 2BA x 6 - reso hold - support - active - 2BA x 6
R1
reso hold - support + active - 2BA x 3 - support - 2BA x 3
R2
reso hold - support + active - 2BA x 2 - support + active - 2BA x 2
R3
reso hold - support + active - 2BA x 2 - support + active - 2BA x 2
Companion skills
Column_kit
Skills
Support skill
Empowered support skill
Skills
Fiendish Claw
Support skill (10s CD)
A red claw emerges from the ground and launches enemies before slamming them down again. Also heals himself and MC by 5% of max HP.
Empowered support skill deals additional damage on top of normal support skill damage.
Column_kit
Skills
Reso tap (feast mode)
Reso hold (fury mode)
Skills
Wrath Judgement
Resonance skill (15s CD)
Consume two energy charges to break 1 protocore shield (2 when stella matched) on first of two hits.
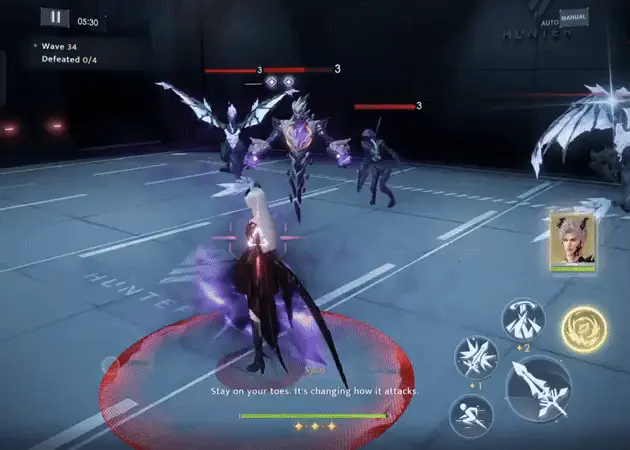
Fury: Holding the skill button causes MC and Sylus to enter FURY mode - both will consume HP every time they hit an enemy to increase the dmg dealt. High starting HP means high damage conversion. You cannot drop below 25% of your HP this way. FURY mode is indicated by floating red energy around MC and Sylus.
Signature Weapon: Fiend Reaper
Column_kit
Skills
Basic attacks combo
Charged attack
Skills
Dream Breaker
Basic attack / Charged attack
Up to 4 attacks in a full combo string. Fiend reaper has a special charged attack that can only be used outside of FURY. It will heal MC if it hits enemies, dealing relatively low damage. It is not recommended to use this in active combat, but can be used to increase HP when enemies cannot be attacked (usually bosses with HP lock mechanics).
Column_kit
Skills
Active tap
Active hold
Active parry
Skills
Life Sacrifice
Active Skill (5.5s CD)
Tap: Recovers HP on hit.
Hold: Holding the skill button charges the skill and deals additional damage. When the skill is fully charged, a red ring flashes around MC and she glows red.
Parry: If you are hit when holding/tapping this skill, you convert the damage into healing and automatically fully charge your skill.
Full charged Active
If you continue to hold the skill after it is fully charged, you convert all damage from enemies into healing. You cannot hold the skill forever - after a certain amount of time, it will automatically attack the nearest/targeted enemy.
Note
Soul Pact
Passive skill
Increase your resistance to interruption. When you lose HP, you also take less dmg - the lower your HP, the higher your damage reduction. AKA you can continue to attack at low HP without worrying about dying.
Active Pair Bonuses
R0 - Recover 20% HP when FURY ends
R1 - After using his support skill, MC’s next 3 normal attacks deal extra damage. When in FURY, support skill charges faster
R2 - Energy charge speed increases for 15s after using a resonance skill
R3 - When activating FURY, recover 50% HP. All active skills are always fully charged on tap and deal 30% increased dmg.
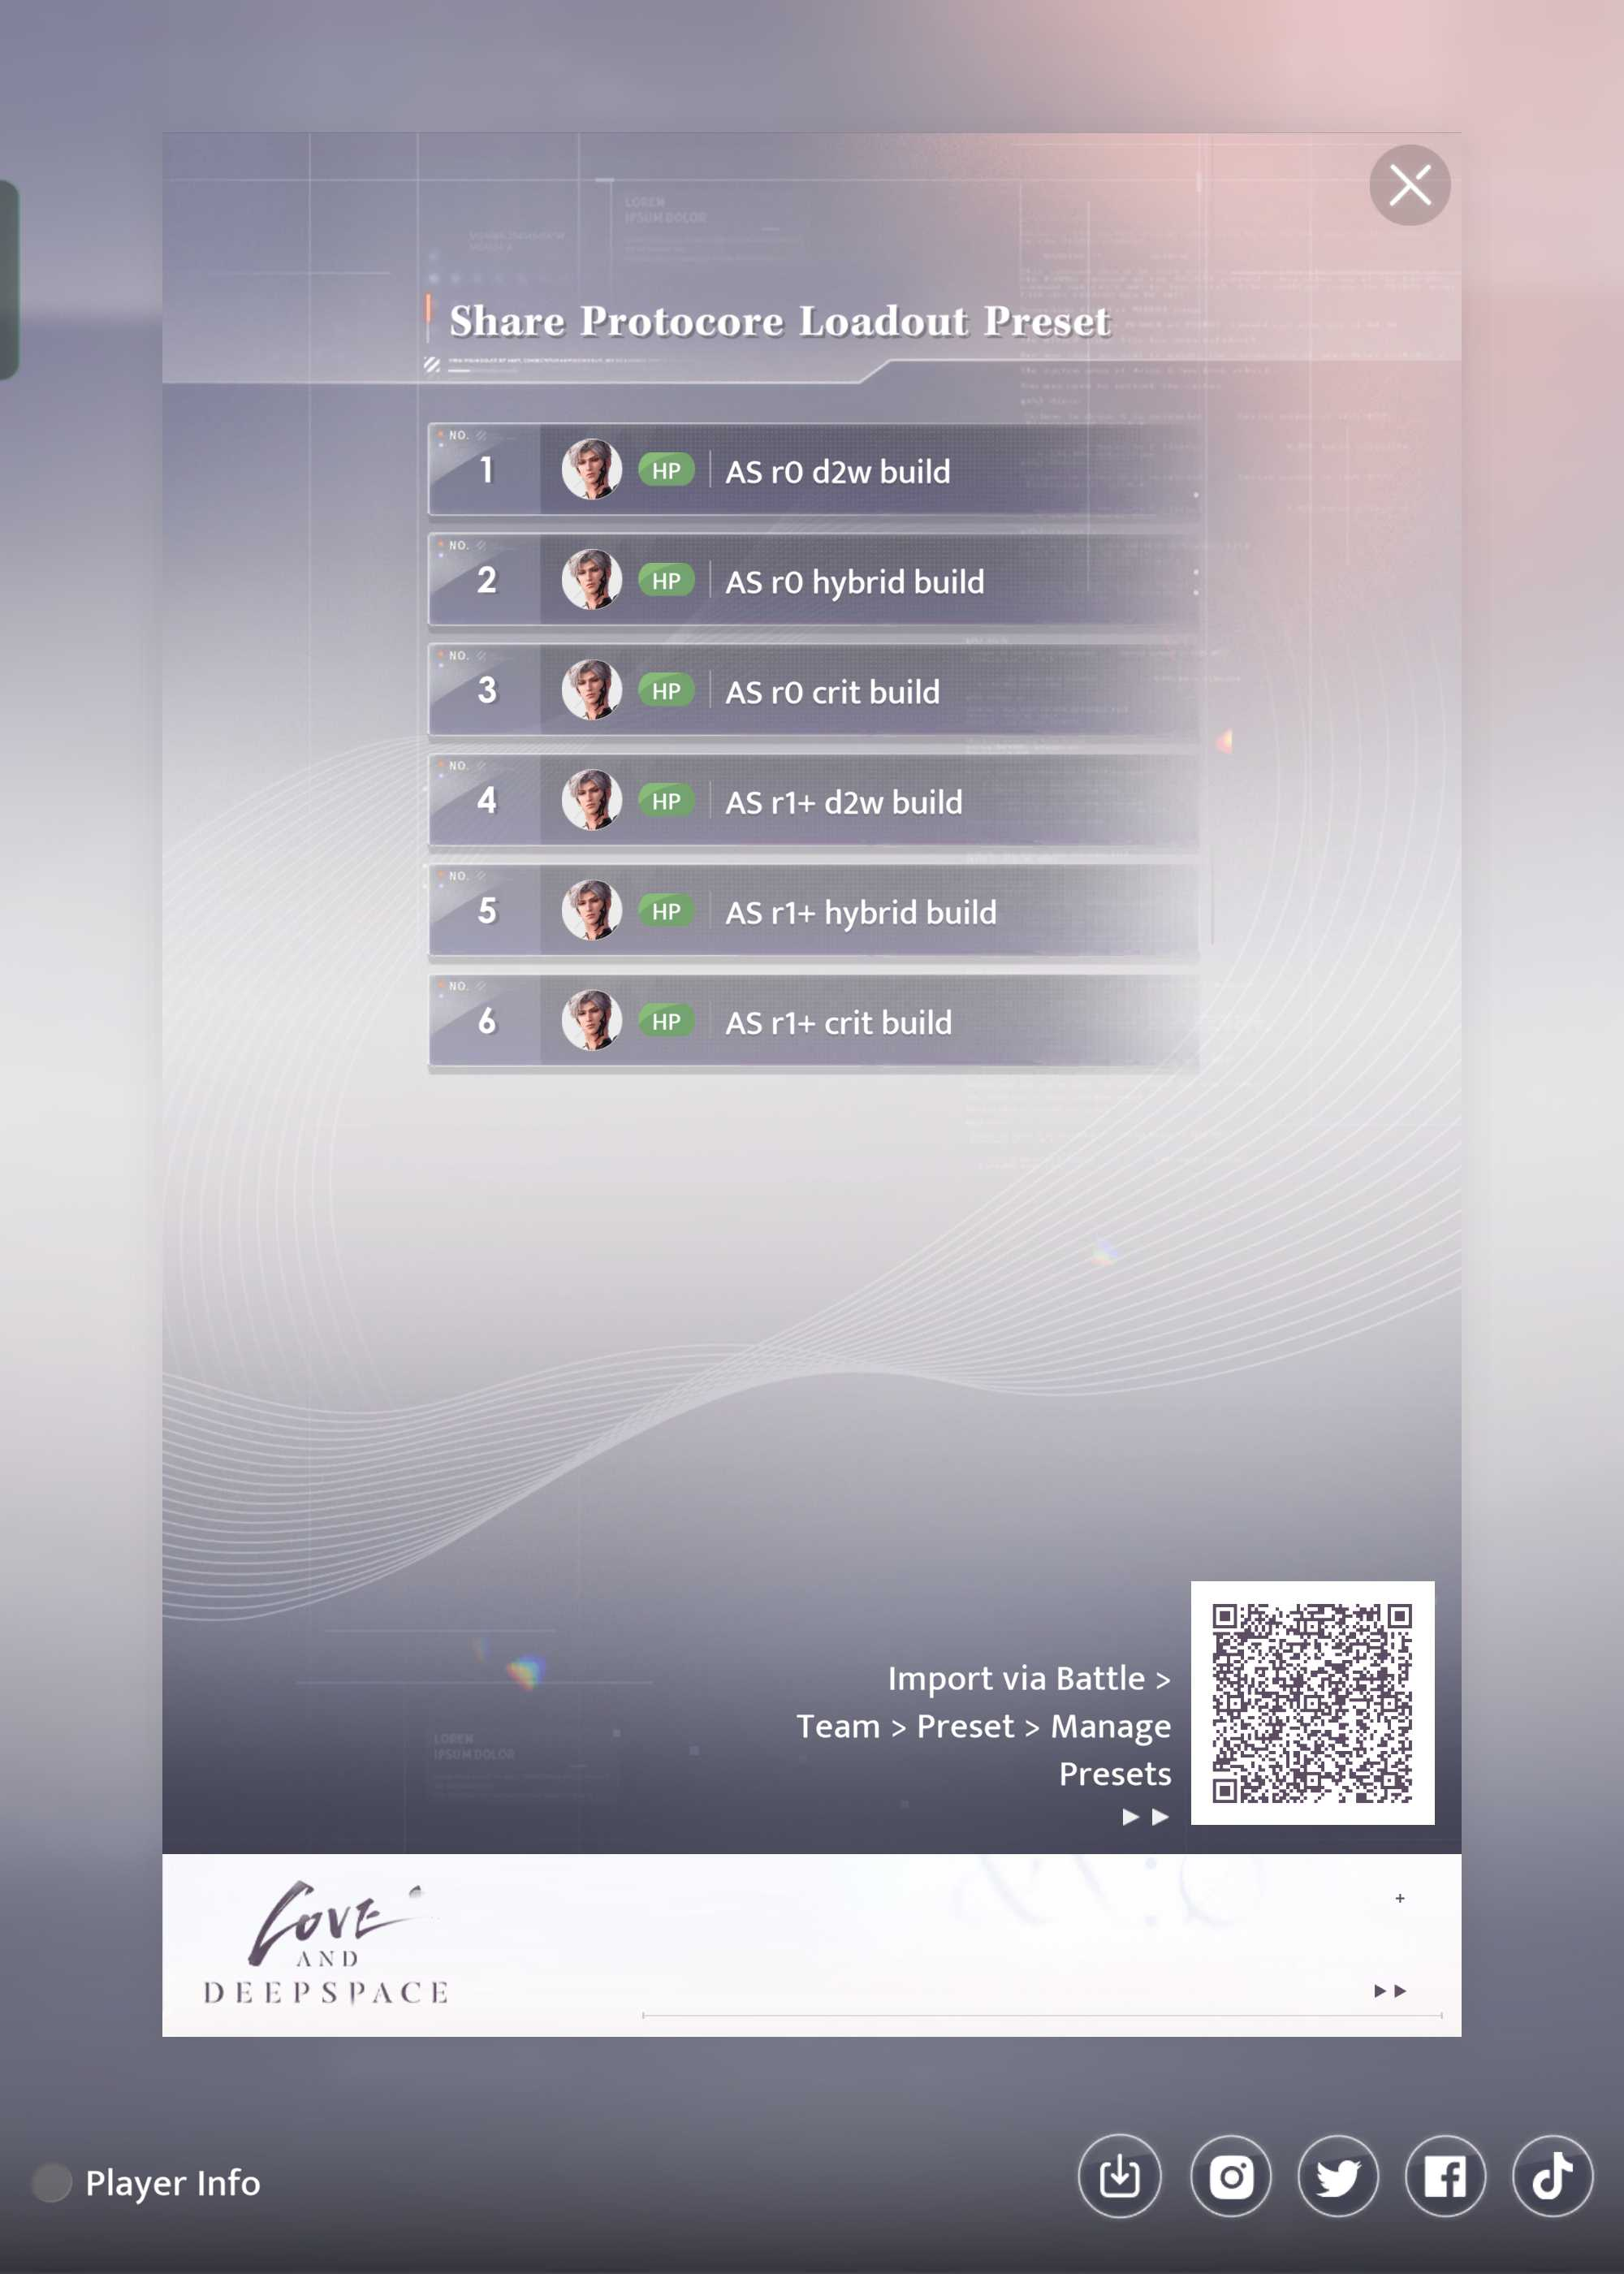
ex. Once your AS team achieves 200,000 HP, it is recommended to start building for D2W/Crit instead.
Preset
Always check cores before starting battle.
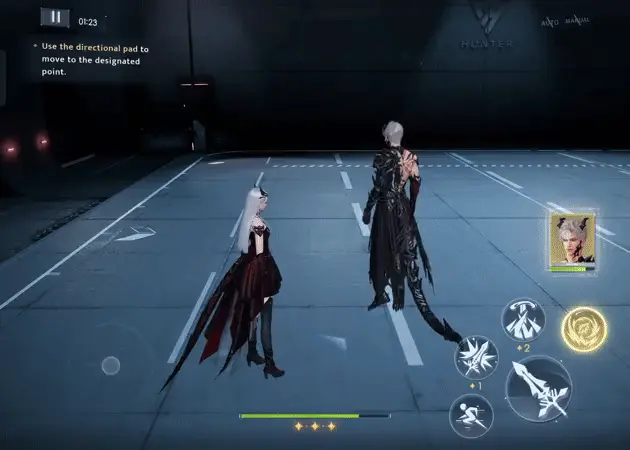
Recommended Rotations
AS performs best when using his signature weapon. It is not recommended to pair the hunter claymore with AS unless you have really bad HP cores and really good ATK cores. If you choose to use a weapon that is not the signature one, you will have to be very careful with HP management as you will no longer have any damage reduction at low HP.
AS does not have a strict rotation. In general, you want to enter FURY as much as possible and then use active and support skills as they come off cooldown. Use ba-ba-dash while waiting for cooldowns. Do NOT hold active skill to charge unless you know you are about to be attacked, OR you are purposely trying to absorb hits to heal while the enemy is locked (ex. myst, luminivore).
R0
If using AS in SHC to 3⭐ final stages, you should be able to have enough EEB to freely use skills as they come off cooldown. If using AS with an ORB, your EEB is lower and you will have to manage skill usage better. FURY allows for increased damage, so prioritising energy for resonance before skills usually means one active skill for every two resonance skills used. Make sure to use your active skill in weakened state if given the option.
Because of how much damage AS can do when using a good rotation, it is sometimes advisable to use 2 EEB even with R0, typically for brute forcing higher levels where Oath does not do much damage out of weakness.
Depending on your gameplay, you can consider alternating using FURY and normal tap resonance - having higher HP when activating FURY will result in increased damage. As long as your HP bar is at least 50-70% full, FURY will probably be a better choice.
ORB + EEB: Alternate between [Feast Resonance > support > ba-ba-dash as needed] and [Fury Resonance > support + active > ba-ba-dash as needed]. When fighting bosses, try to time using active in weakness.
2 EEB: Repeat [Resonance > support + active > ba-ba-dash as needed], alternating between fury and feast if needed.
R-1
All the notes for R0 apply, but you will not receive healing at the end of FURY. This means you need to be more careful to not get hit. You will have to more often alternate using FURY and using a non-fury resonance so that you can heal to above 25% and activate the damage bonus that comes with FURY.
R1
Sylus’ support lets your basic attacks do extra damage and also charges faster when in FURY state. This means you should try to FURY with every resonance. Time your support skill to right after entering FURY, allowing you to use a second support skill while still in FURY. When done properly, you can use 2 support skills for every FURY phase.
Fury > support + active > ba-ba-dash x 3 > support > ba-ba-dash x 3> repeat.
This is NOT a strict rotation aside from trying to time 2x support skills for every fury.
R2 & R3
The increased EEB allows you to more freely use your active skill, meaning you can do two active skills per FURY. Combined with the R1 bonus, the ideal rotation is weaving two active skills and two support skills in every fury resonance. Do note that with R3, all active skills are fully charged and take moderately longer to execute - the extra damage is worth it though.
v1.1 - added presets by @jayci_3280 v1.0 by @jayci_3280. Proofreading by @anan1n @kiironiichan @.kitty143 @kemrian