Zayne: God of Annihilation is an HP scaling companion that can do an amazing job both in brute force and stella matched stages. He is Zayne’s strongest companion and also the only one with crowd control. His rotation can be complicated for combat beginners, but learning it is rewarding and necessary to master the God.
Column
Strengths
Super strong, one of the strongest myths right now.
The only Zayne companion with grouping.
Can be easily used as R-1 without changes in rotation.
Weaknesses
Very strict rotation to follow.
Quick Summary
If you don’t know what acronyms means, you can find them in Glossary.
Use Support skill outside Deity whenever it is available.
Don’t interrupt the chain CA — Active — CA — Active, or you will not be able to unlock Deity within a single rotation.
Don’t enter weakness if you don’t have Deity unlocked.
With R3 you need to use 2BA instead of 4BA.
Entering weakness (also Deity State rotation)
Warning
Reso — Deity State — CA — Support + Active — CA — Active — CA — Support
When using Oath, it is best to use it before entering Deity. If timing doesn’t allow it, use Oath at any point during the rotation, but be careful to not cancel any animations.
With R1+, you can do one more Support after first Active — CA. Also you can use BA instead of CA the Deity when you are fighting with mobs.
Brute force
The only difference in rotations when using a brute force team is that Deity will be used outside of weakness as well.
A no-reso rotation is also an option to save time and increase overall damage output, but will reduce crowd control in mob stages. For this option, swap the EEB cube with HP%.
In-depth guide
Companion skills
Column_kit
Skills
Note
Endbringer Arrow
Support skill (10s CD)
Zayne launches an arrow from a distance that explodes in a small aoe when it hits the first enemy in the way. Empowered Support skill: More damage.
Column_kit
Skills
Note
Divinity Order
Resonance skill (15s CD) (2 energy cost)
Pull enemies together, deal large AOE dmg and destroy 1 Protoshield (2 when stella matched).
Column_kit
Skills
Stacking Arrows
Spending Arrows
Deity button
Skills
Fateful Bond
Passive skill
Deity State (explained further, below): provides more damage but is locked behind 3 stacks that can be broken by golden arrows. To remove 1 stack you need to consume 4 Golden Arrows.
Golden Arrows: every BA hit gives 1 Golden Arrow. Golden Arrows don’t have an expiration time but they are consumed with using a CA on an enemy. Consuming Golden Arrows has a few effects:
You get a temporary buff for 5 sec. If you do an Active skill while this buff exists, you will recover the same amount of Arrows that was consumed by the CA. This buff also does additional DMG.
If you consume 4 Arrows at once, you remove 1 stack for Deity, restore 0.35 Energy and Zayne will do a follow-up attack at the enemy, which deals DMG and heals MC and Zayne for 5% of their max HP.
When all stacks are removed, a new button will appear near Reso and Active buttons and you can enter Deity State by tapping on it. When you enter Deity - all Arrows, temporary buff, and debuff on enemies will be removed.
Consuming 3 or less Arrows (not recommended)
If you consume less than 4 arrows - you leave a debuff on an enemy that will have the same amount of stacks as Arrows you just spent. You can launch the lacking Arrows to get the effect of 4 Arrows. For example: if you consume only 3 Golden arrows, it leaves a debuff with 3 stacks on the enemy. Now you need to only consume 1 Arrow to get the effect of 4 Arrows.
It is not recommended to consume 3 or less Arrows at a time because it takes more time and your Active won’t restore 4 Arrows. Always consume 4 Arrows with one CA.
Signature Weapon: Divine Grip
Column_kit
Skills
Basic attacks combo
Charged attack
Skills
Order Rupture
Basic attack / Charged attack
Basic attacks have a chain of 4 strikes. Charged attack consists of two hits. The 2nd hit applies DoT on the enemy for 2 sec.
Column_kit
Skills
Note
Divine Judgment
Active Skill (5.5s CD) (1 energy cost)
Deals 1 hit to the enemies in front of MC.
CA after Active
If you initiate a charged attack before the first Active skill animation is completed, the CA is immediately executed, allowing for a faster rotation. If you do not do this, holding the attack button will default to the BA-CA animation, making the rotation longer.
Column_kit
Skills
Note
Divine Slash
Passive skill
When using your Active skill, take 40% less dmg and become unstoppable.
After using your active skill, a second active can be used within 4 seconds without consuming energy.
Second active: deals 2 hits, with 2nd hits it consumes Golden Arrows.
Deity state (duration 10 sec)
Column_kit
Skills
Note
Soul Rift
Passive skill
During Deity, each enemy has a debuff marked by a golden globe(Rift). When you use a CA on enemies with a Rift mark, you shatter the Rift, dealing additional damage and unlocking Zayne’s special support skill. Rift marks will reappear in 6 sec again after being shattered. You can reduce this CD of Rift by using an Active skill: the 1st hit reduces Rift CD by 0.5 sec.
Column_kit
Skills
Note
Divine Sever
Support skill
Deal damage in a medium AOE area. Zayne cannot use more than one support skill at a time even if you shatter more than one Rift. You must wait for the current support skill animation to end before using the next support skill. The hits from this Support count as damage from Charged Attack.
Empowered Support skills can’t be triggered during Deity.
Solar Pair Bonuses
R0 - You are unstoppable when using CA and take 40% less dmg. Increase DMG within Deity State by 8%.
R1 - Basic attacks can now shatter Rifts in Deity state. The first hit from Active skills applies a Rift on the enemy if it doesn’t have it. Support skill in Deity now pulls enemies to the center and does additional DMG.
R2 - Active Skill dmg increases by 20%. Restore 5% of max HP for MC and Zayne after shattering Rifts.
R3 - Basic attacks now gain 2 Arrows per hit. Enemies hit by Zayne’s follow-up attack after 4 Arrows or with the Divine Sever (support in Deity) take 30% more DMG for 4 sec.
DN has two states and each has a different rotation: “normal state” and “deity state”.
When your team is stella matched, you should use the normal state rotation outside weakness and the Deity state rotation inside weakness. When brute forcing, you want to use the Deity state rotation whenever it is available.
Normal state rotation to unlock Deity:
Warning
4BA — CA — Active — CA — Active — CA
You will have Deity state unlocked after the second Active.
Don’t interrupt the chain CA — Active — CA — Active, or you will not be able to unlock Deity within a single rotation. You need to hit an enemy with each attack - if you do not hit an enemy with every step, you will not gain/consume arrows and you will miss 1 or 2 stacks to unlock Deity.
In Normal state, use support skills whenever you can.
Deity state rotation:
Warning
CA — Active + Support — CA — Active — CA — Support + CA
Gathering Arrows:
Even though the rotation states “4BA”, you do not need to perform a full chain, just a total of 4 basic attacks before proceeding to the rest of the rotation. Doing the full chain is best, but you may need to dodge or change positions to better group enemies. In these cases, just look for the number of golden arrows behind MC or as the buff above your HP bar to keep track of how many more basic attacks you have to do.
For example: if you dodge after a second BA, you need to do only 2 more BA. 2BA — dodge — 2BA.
Stella match
Outside weakness rotation:
Warning
Reso — 4BA - CA — Active — CA — Active — CA
Sometimes you will have enough time to do the last CA before going into weakness, sometimes you won’t. Last CA is not necessary but deals extra dmg.
Entering weakness rotation:
Warning
Reso — Oath (if available) — Deity — CA — Active + Support — CA — Active — CA — Support + CA
If you can’t use Oath before Deity but it becomes fully charged in the middle of the rotation - you still can use it, but be careful to not interrupt any animation.
Rotation 3 weakness + 4 Deity.
Brute force
Brute force can be played with and without Reso depending if you need it. Without Reso, your overall damage will be higher but this will mean you cannot do Oath in weakness. Keep in mind that Resonance provides grouping on mob stages.
Brute force with reso:
Warning
Reso — 4BA — CA — Active — CA — Active — CA — Reso — Deity — Deity state rotation
As with stella matching, the CA before Reso is not necessary.
If you want to use your oath at 1:01 or earlier, after second Deity use:
Reso - Normal state rotation - Reso (to break the enemy) - Oath - Deity - Deity state rotation
This rotation is usually using only for mob stages because of grouping with Reso and since mobs have only 2 shields.
Brute force, no-reso:
Warning
4BA — CA — Active — CA — Active — 4BA — CA — Deity — Deity state rotation
Use one more stack of 4 Arrows 4BA — CA before entering Deity to manage the Active Skill CD - it is okay to enter Deity state with 2-3 sec remaining for the Active skill CD.
R1 and R2
Read previous notes for R0 gameplay before continuing.
With R1, you can do more Support skills inside Deity. Your Deity rotation will be:
Warning
CA — Active + Support — CA — Active + Support — CA — Support + CA
You can also use BA instead of CA to shatter Rift for a faster rotation:
Warning
BA — Active + Support — BA — Active + Support — CA — Support + CA
On mob stages, using the rotation with BA will allow you to shatter more Rifts, resulting in more support skills - it becomes possible to use 5-6 Support skills during a single Deity.
R3
Read previous notes on R0, R1, and R2 before continuing.
With R3, your BA now gives you 2 Arrows with every hit. This changes your Normal state rotation to:
Warning
2BA — CA — Active — CA — Active — 2BA — CA
The last 2BA — CA isn’t necessary to get Deity but try to fit it into your rotation for added dmg. This rotation will also be used for a no-reso rotation.
Advanced Tips
Pre-stacking Arrows
You can prestack Arrows on bosses who take a long time to spawn, like dragons or the deer. Aim attacks at the general area where the boss should land and you will gain arrows. This also works when the boss uses an HP lock. For example, the Petro golem locks itself for a long time, and you can hit it with BA to gather Arrows while you are waiting for the lock to end.
Support skill before Deity
Deity state’s rotation is shorter than weakness states, so it is recommended to maximise damage by using a support skill right before entering Deity. You do not need to wait for the complete support skill animation before entering Deity - for timing, you can do support skill and BA at the same time, and once the BA is done, you can enter Deity.
Warning
Reso — BA + Support — Deity — Deity state rotation
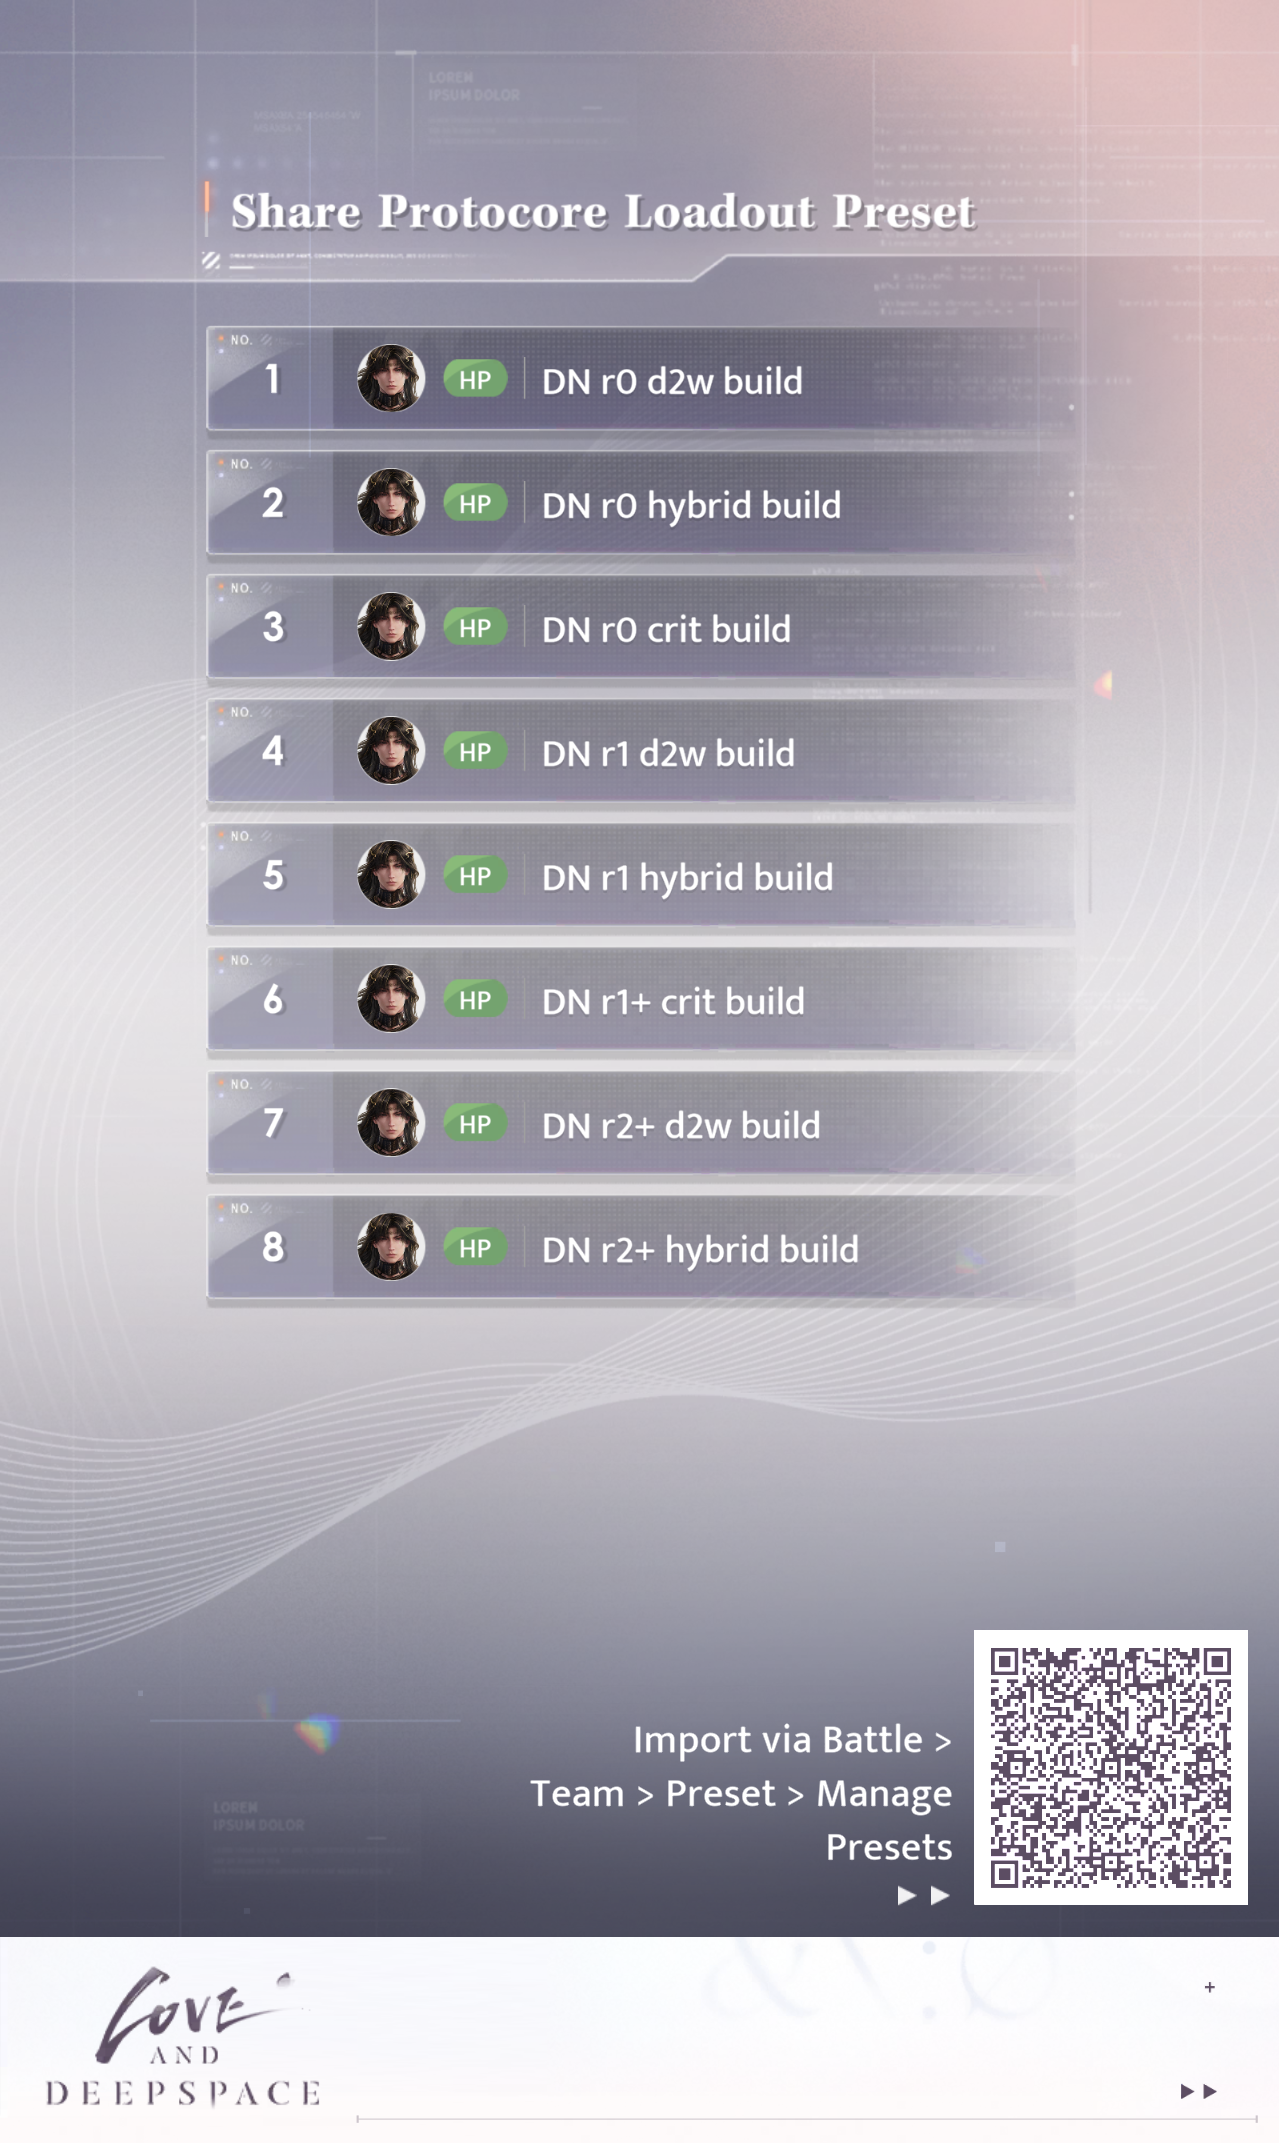
v.1.3 - added presets by @kemrian v1.2 - changes in core recommendation for r2+ v1.1 - by @kemrian. Minor changes to text, add more video examples v1.0 - by @kemrian. Proofreading by @anan1n, @jayci_3280 v0.1 - quick summary by @kemrian. Proofreading by @jayci_3280, @.kitty143