Sylus’ Relentless Conqueror is an ATK scaling myth that shines best in mob stages with his signature weapon, but can also effectively use the hunter claymore, especially in boss fights. His passive skill does great nuke damage and also provides a healing mechanic in the base kit.
Column
Strengths
Can use both his signature weapon (Harrier 700) as well as the hunter claymore very well
Devour Mark mechanic deals massive burst damage
“Spin to Win” is very fun
Weaknesses
His taunt mechanic mixes poorly with his inability to dodge so he dies often
His solo attacks can ruin grouping efforts
His multi target excellence is locked behind R1 while the rest of his rank bonuses are somewhat lackluster and not as strong as other myths
Quick Summary
If you don’t know what acronyms means, you can find them in Glossary.
Reso — support — active & CA spam OR claymore rotation
R1+
Reso / support / active whenever they are available & CA spam while waiting for skills OR claymore rotation
Companion skills
Column_kit
Skills
Support skill
Empowered support skill
Skills
Conqueror’s Confinement
Support skill (10s CD)
Sylus pulls the enemy towards himself and deals damage while applying a Devour Mark. Empowered support skill: Deals additional damage on top of normal support skill damage.
Column_kit
Note
Note
Boundless Protection
Resonance skill (15s CD) (2 energy cost)
Shoot twice with your guns, and then Sylus follows up with an AOE attack that breaks protocore shields and applies Devour Mark to all enemies in range.
Column_kit
Note
Note
Devouring Mark
Passive skill
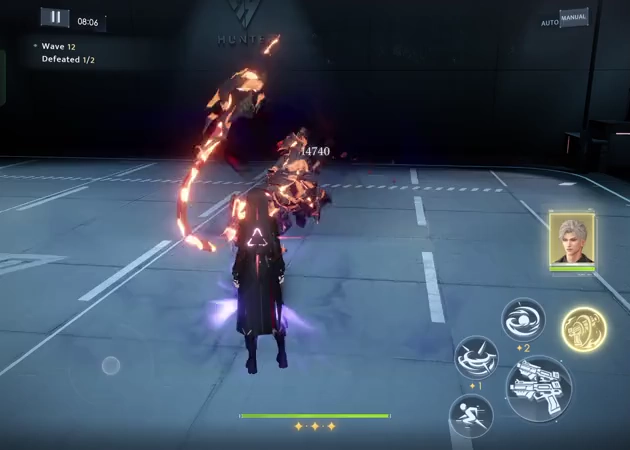
Reso and support skill apply a Devour Mark to the enemy that lasts for 8 secs. Every time an enemy with a devour mark is hit, there is a chance for them to drop Dark Energy which restores a small amount of HP for you and Sylus when picked up. Applying Devour Mark on an enemy that has already been marked will cause the mark to become “enhanced” for 8secs. At the end of the 8s, 80% of all the damage that MC dealt during the enhanced mark state (not including oath) will be dealt all at once (“burst” or “nuke” damage). You can continue to apply “standard” Devour Marks to enemies already in the enhanced state, but they will not extend the enhanced state. Instead, at the end of the enhanced state, the enemy will already have a Devour Mark, ready to be enhanced.
Signature Weapon: Harrier 700
Column_kit
Skills
Basic attacks combo
Charged attack
Skills
Relentless Barrage
Basic attack / Charged attack
Has a 4-hit combo basic attack. Charged attacks launch a ball of energy at the target that deals damage in a small aoe on hit.
Column_kit
Skills
Note
Boundless Gunfire
Active Skill (10s CD) (1 energy cost)
You spin while firing your gun, causing damage to nearby enemies. Direction of spin is determined by the d-pad, or if you are not using the d-pad, you will spin in the direction you are facing.
Note
Limitless Recovery
Passive skill
When an enemy with devour mark is hit by your active skill, there’s a 50% chance that it will reduce the active skill cooldown by 1s and restore a small amount of energy.
Active Pair Bonuses
R0 - Picking up Dark Energy increases ATK by 3.5% for 5s. Can be stacked up to 3 times.
R1 - After picking up Dark Energy, gain ability to apply Devour Mark to the next enemy you hit. Identified by a dark red circle under MC.
R2 - Picking up Dark Energy restores even more energy.
R3 - Deals extra damage when applying Devour Mark to an enemy that already has a Devour Mark.
Once your CA team achieves 10,000 ATK, it is recommended to start building for D2W/Crit instead of ATK.
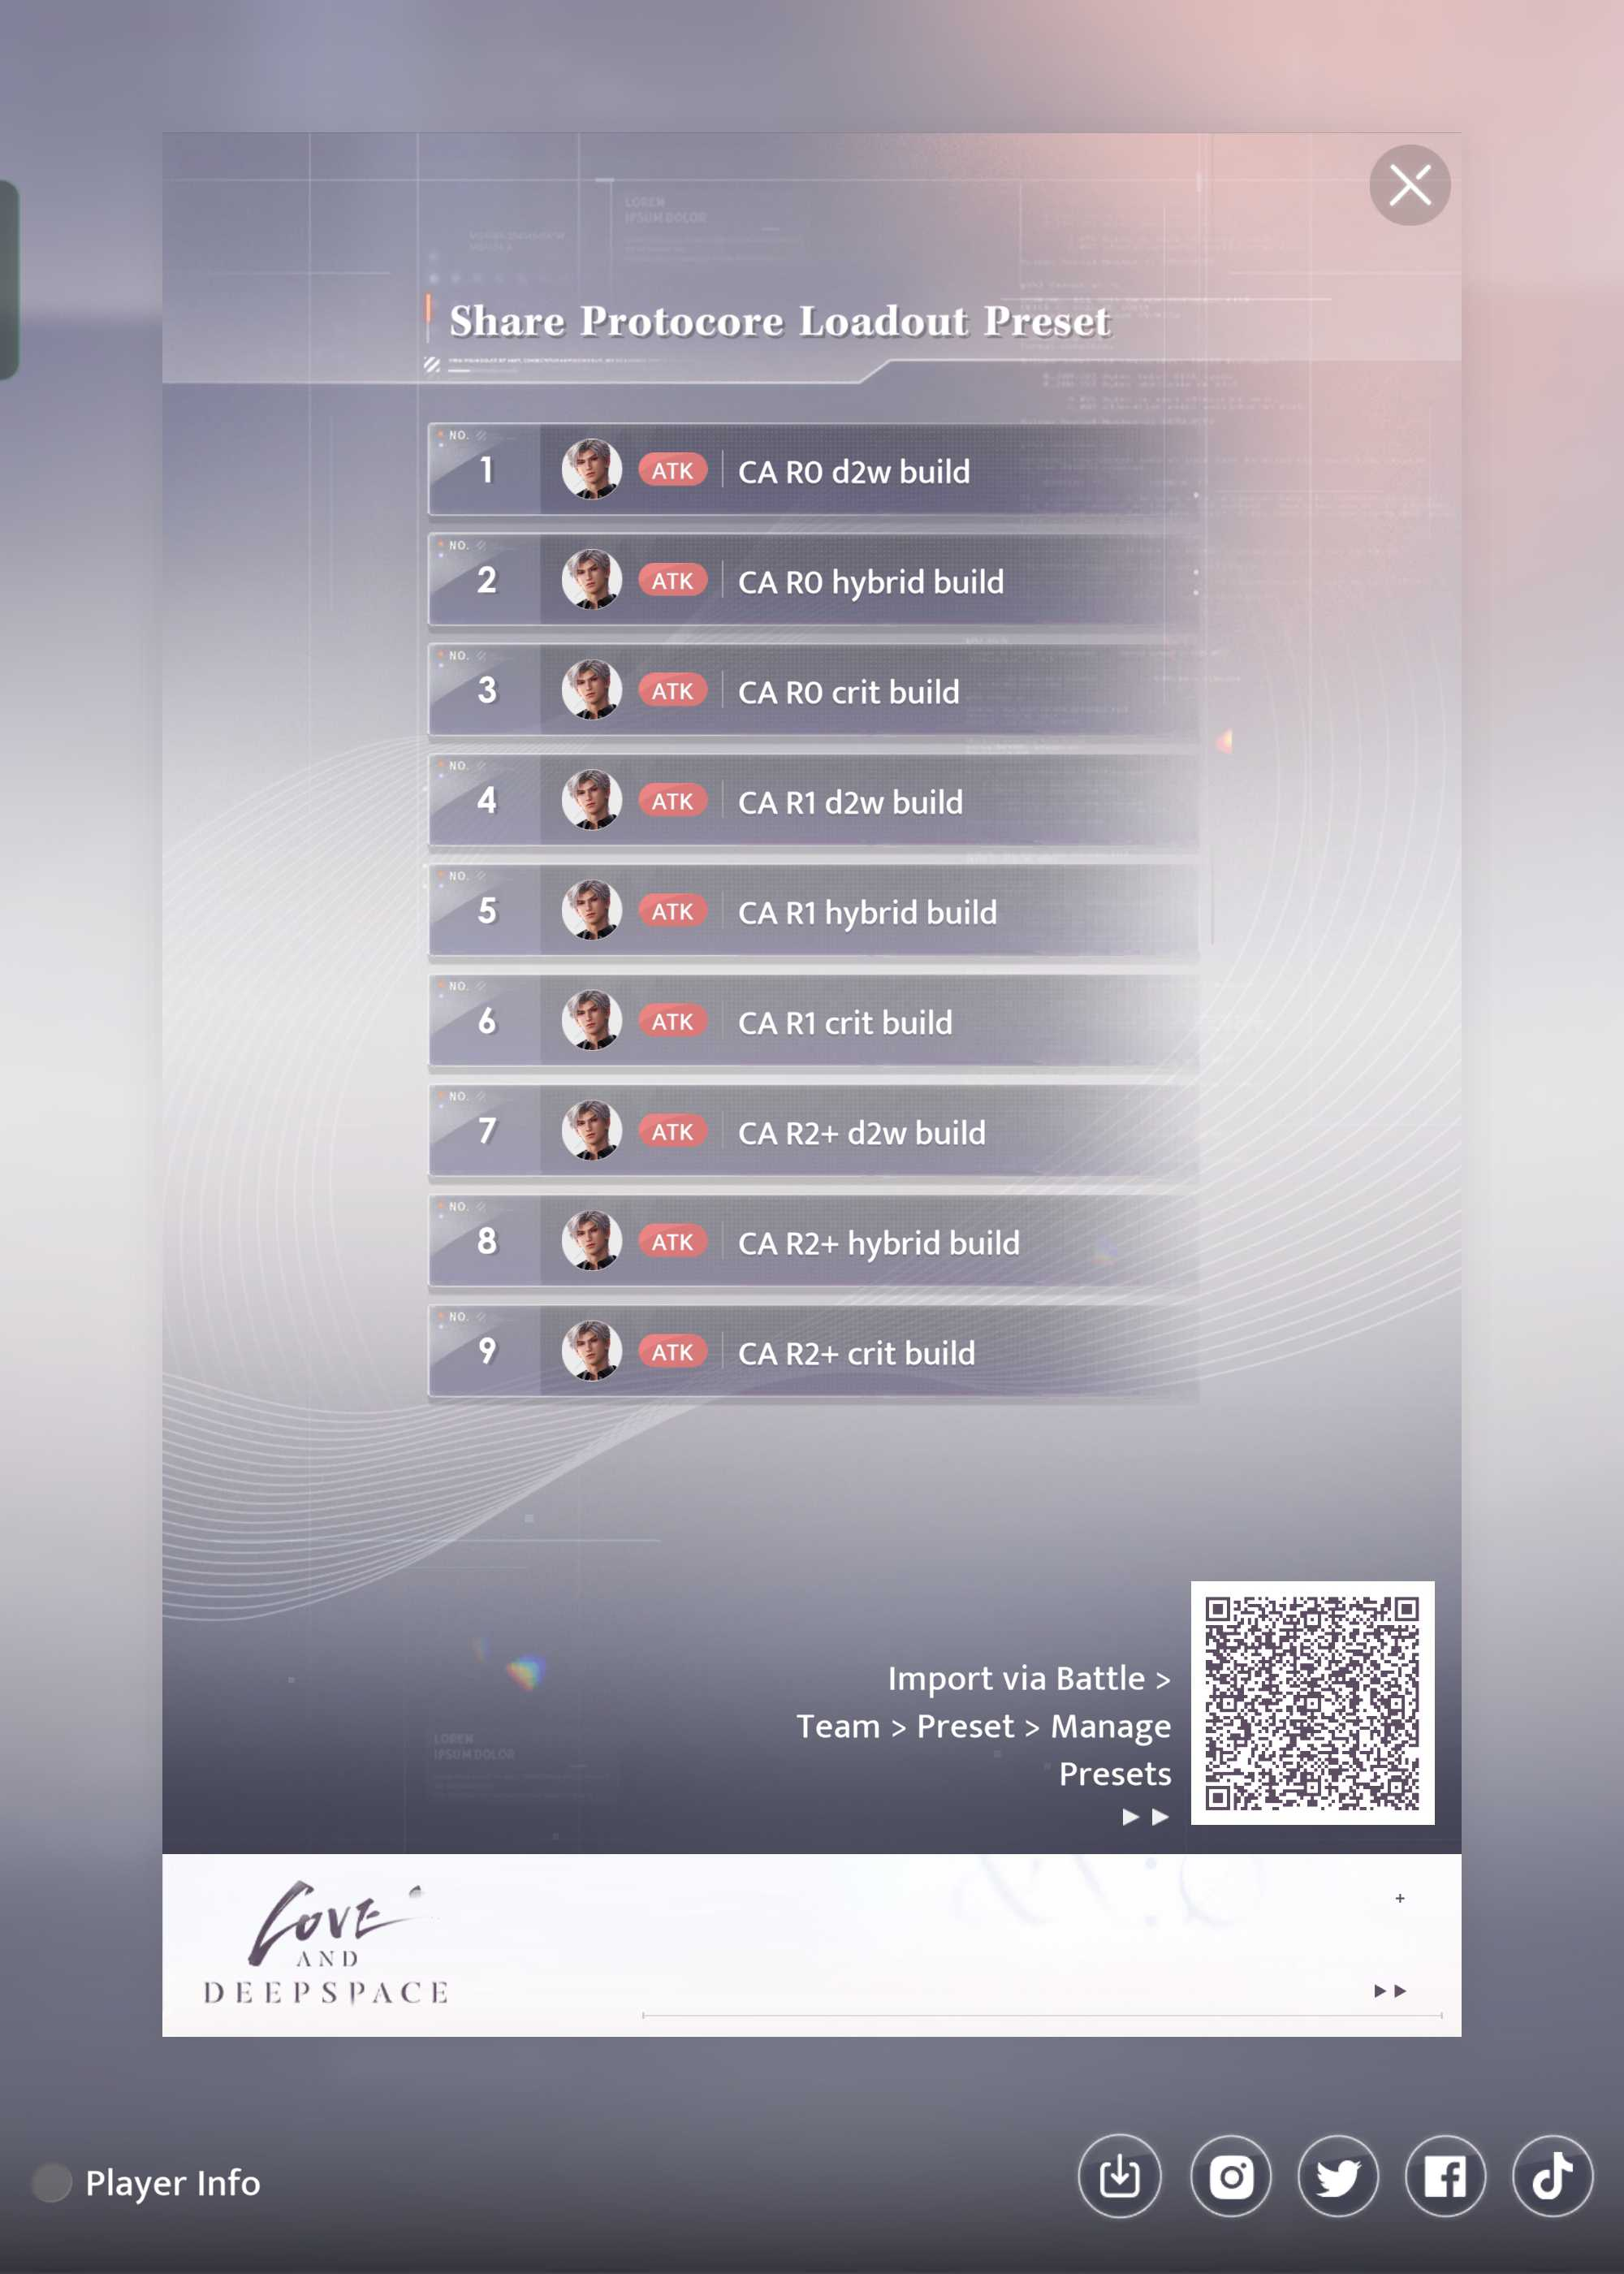
Preset
Always check cores before starting battle.
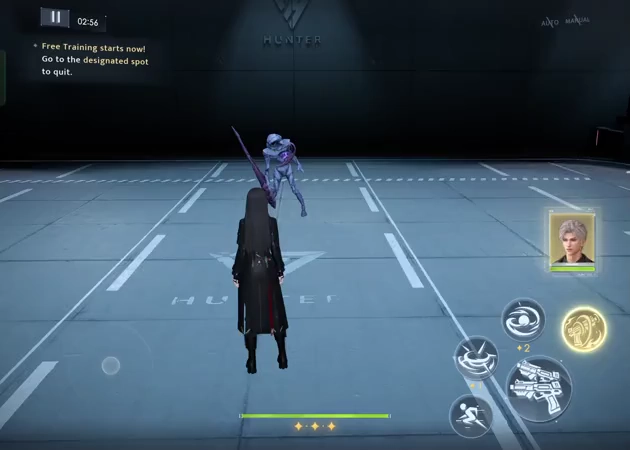
Recommended Rotations
CA’s gameplay primarily centers around the Devour Mark burst damage. He excels against large groups of mobs because of the signature’s weapon passive skill that lets you drop lots of Dark Energy (reducing active CD and refunding energy), letting you spam it repeatedly without needing to wait. However, this mechanic is not as great against single targets and in these cares, the preferred weapon is the hunter claymore, unless you have high stats.
”Spin to Win” - ideal for mobs
For all ranks, CA has a very straightforward rotation:
R0
Reso — Support — Active spam — Charged Attacks as needed while waiting for CDs to end.
When using Charged Attacks, always dash cancel the animation to be able to deal more damage.
Note
Make sure to always use your active skill AFTER the enemy/enemies have a Devour Mark (resonance or support, or R1 bonus) to make sure enemies can drop Dark Energy (red orbs).
R0 & R-1
Start by using reso skill to apply Devour mark to all enemies within range upon entering the battle. If desired, manually lock onto a specific enemy and use Sylus’ Support skill. If you do not want to use manual lock, Sylus’ support will be used on the current target (marked with an orange circle).
Warning
Always use your resonance skill and support skill back to back to ensure you time the enhanced devour mark properly - if you trigger an empowered support, do not use it unless you are ready to use a resonance skill immediately after.
Spam your active skill until resonance comes off cooldown, using CA-dash spam if active and resonance are not yet available. Because of how much energy you will need for this kind of gameplay, it’s highly recommended to use double EEB cores. If you choose to use an ORB, you may have to be more conservative with your active skill usage.
R1+
R1 is when CA really starts to shine against multiple enemies. Whenever you pick up dark energy, you will apply a Devour Mark to the next enemy you hit, which means that you no longer only have two ways to apply the Devour Mark. This is excellent for mob battles because of the ability to now have the enhanced Devour Mark on multiple enemies at once. When using Harriers against a large amount of mobs, the strict R0 rotation can be largely ignored as long as you are constantly picking up red orbs, and you can use all skills whenever they are off CD.
Hunter Claymore Rotations - ideal for Bosses
R0 & R-1
When using the claymore, you want to follow the approximate same rules as with the Harriers 700: Reso and support skill have to be back to back to make sure you trigger the enhanced Devour Mark. Because of how long the Frangere Slash animation is, you can actually tap the active button before Sylus’ support for optimal timing while still capturing the Frangere damage in the enhanced state.
When entering weakness for bosses, follow the usual claymore rotation, but always make sure to have an enhanced Devour Mark on the enemy beforehand, to ensure the explosion does damage in the weakened state.
R1 & R2
The R1 bonus can actually be somewhat of a nerf when using the hunter claymore in Stella Matched battles. Picking up Dark Energy will increase your damage (R0 bonus), but it will also ruin enhanced Devour Mark state timing. Avoid picking up Dark Energy, and follow the same rules as R0 & R-1 to make sure that you maximise damage in the weakness state.
In brute force stages against bosses, the R0 & R1 bonus can be used to your advantage. Pick up as much Dark Energy as you can and use Support whenever available until you use the third resonance skill. Once the boss is down to its last shield, DO NOT pick up any more Dark Energy and go back to saving the support skill to use back to back with the resonance skill that breaks the enemy’s shield to maximize your damage in weakness.
R3
The same recommendations as R1&R2, but depending on stats, it may be valuable to constantly pick up dark energy anyway. The additional damage from the R3 bonus may win over timing burst damage in weakness. Play around to see which will be more effective with your stats. If you choose to endlessly pick up Dark Energy, you can also use Sylus’ support whenever it is available.
v.1.1 - added presets by @jayci_3280 v1.0 by @jayci_3280. Proofreading by @kemrian