Sylus: Silverwing Fiend is a DEF scaling companion that specialises in stella-matched battles. His rotation focuses on enhancing charged attacks and high nuke damage from his special state skill.
Column
Strengths
Large burst damage from special state.
Simple general rotation to follow for beginners, but also has flexibility to adjust gameplay to min-max for advanced players
Weaknesses
All rank bonuses only buff the special state.
EEB hungry in stella-matched battles, especially at R-1.
Rotation timing can be tight when trying to min-max.
Quick Summary
If you don’t know what acronyms means, you can find them in Glossary.
Once your CR team achieves 5000 DEF, it is recommended to start focusing on building for D2W/Crit instead of def
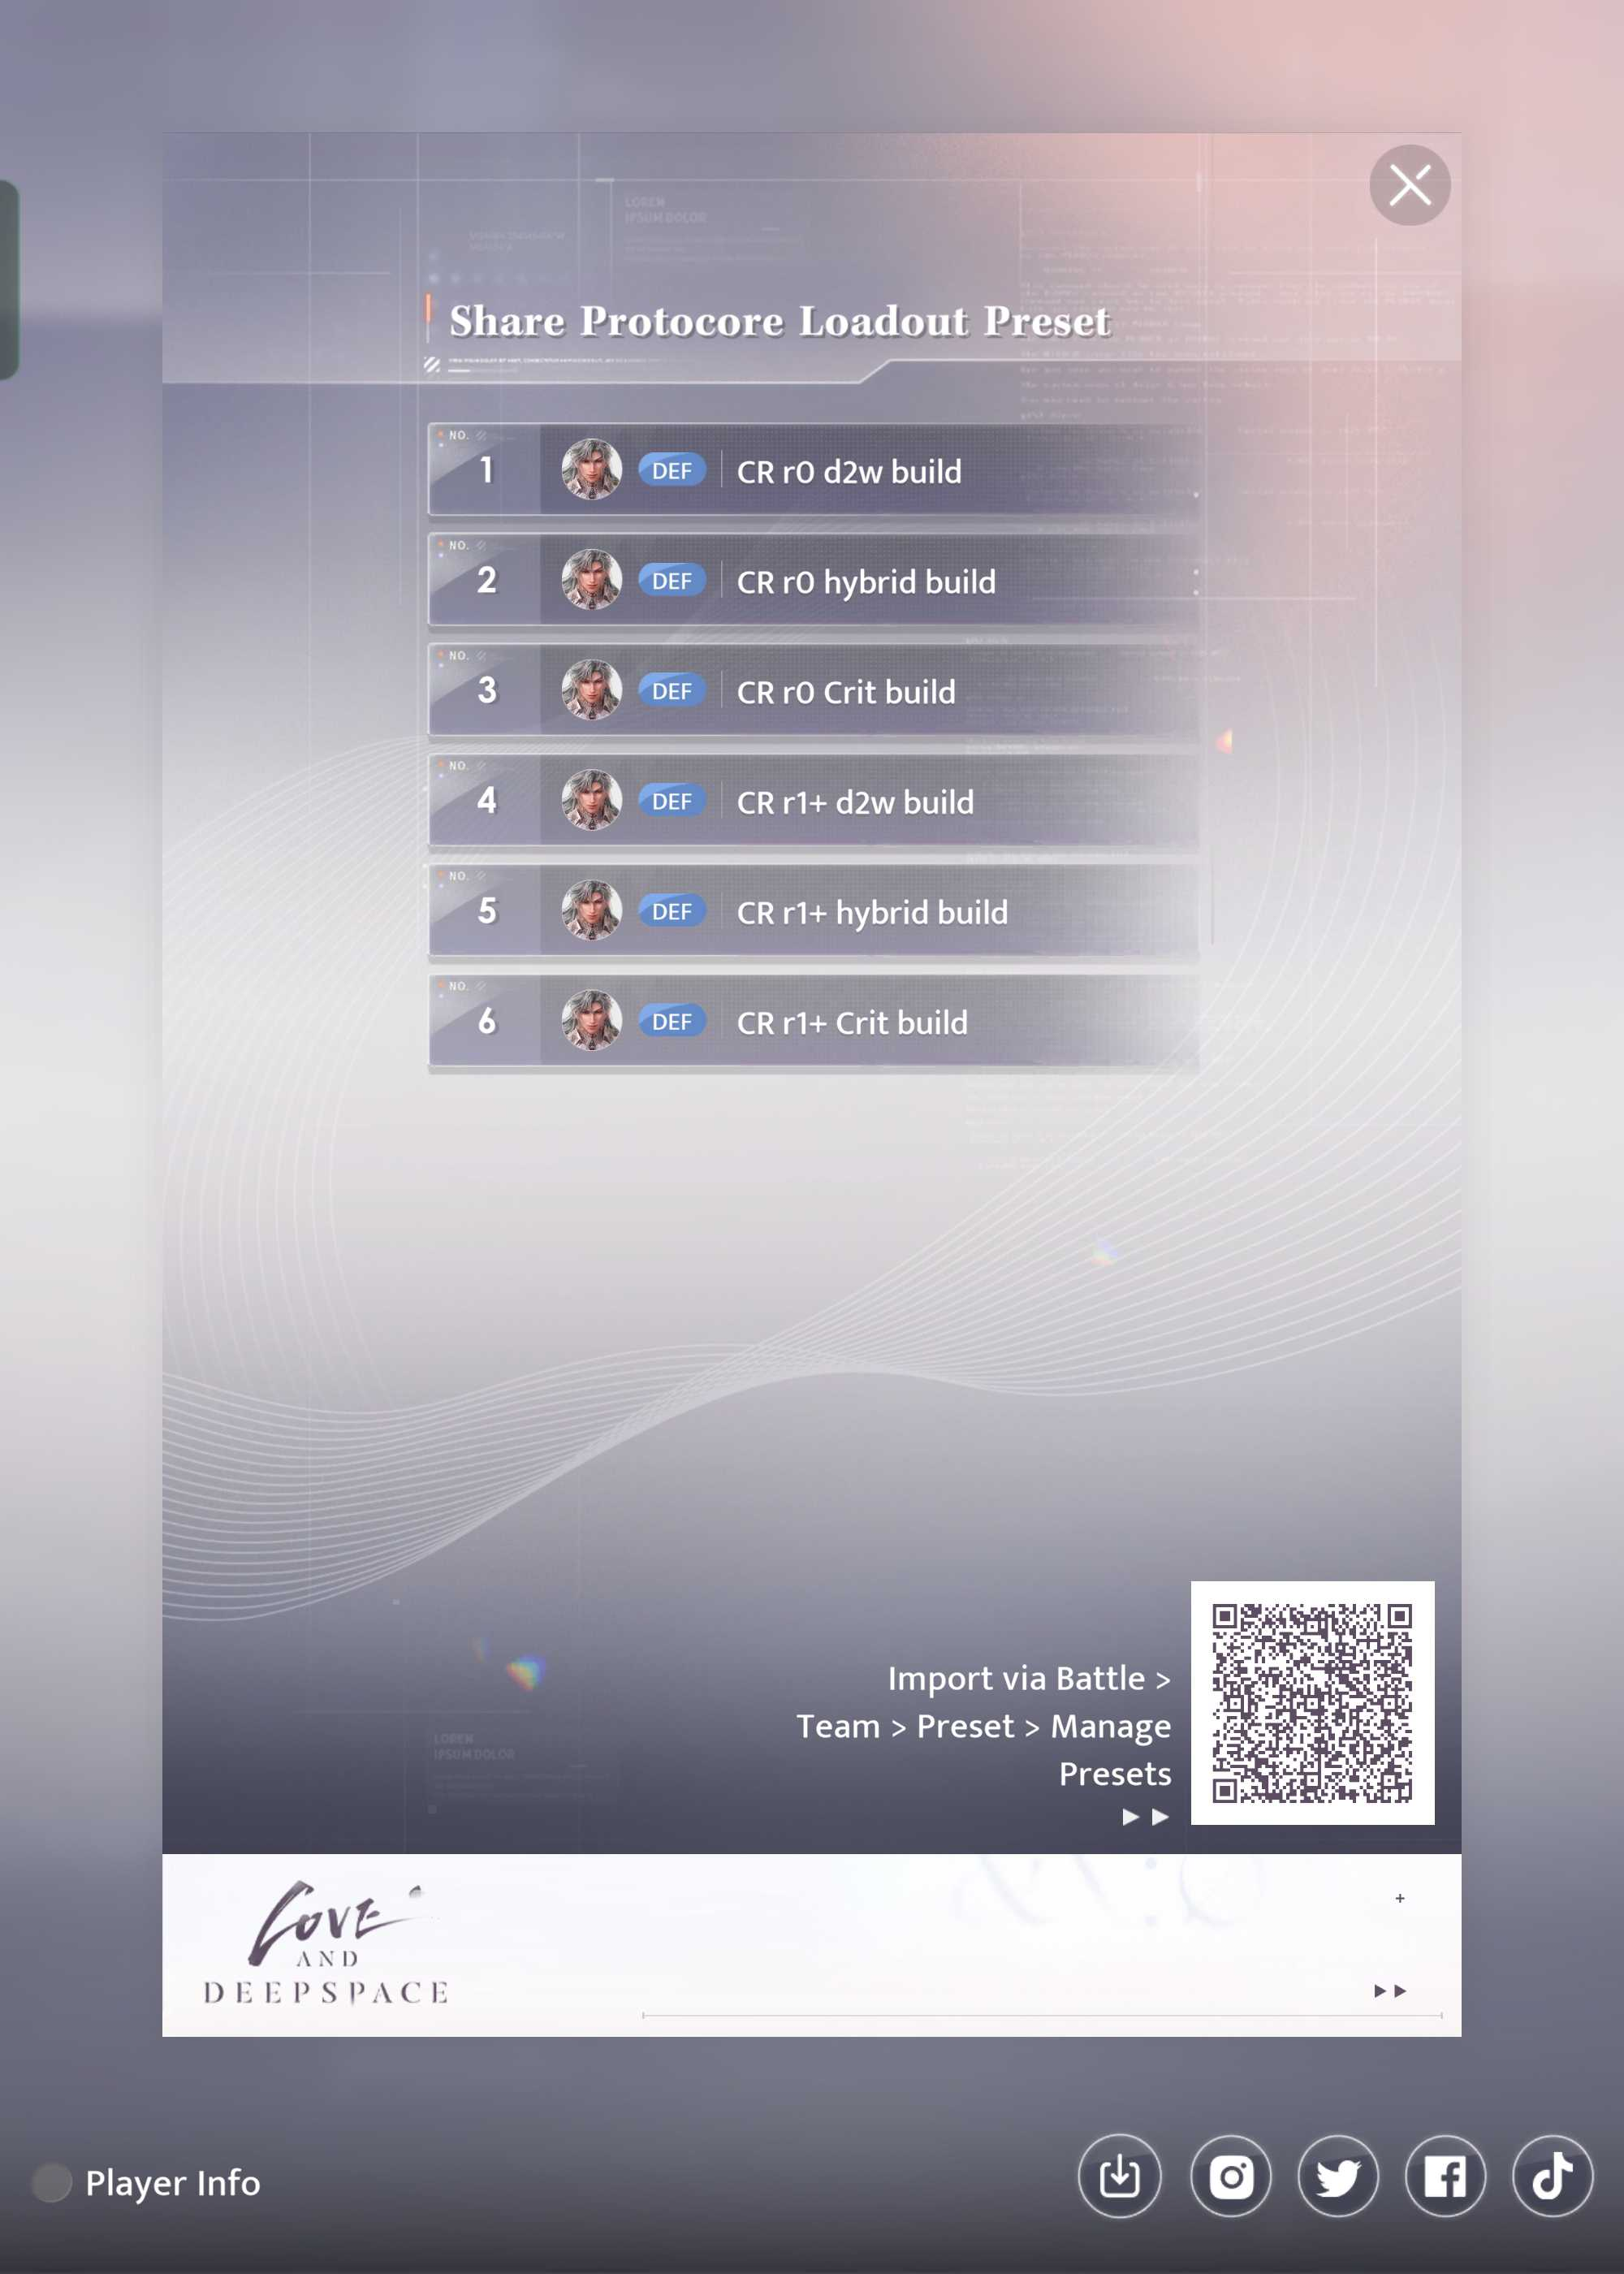
Preset
Always check cores before starting battle.
About EEB
The stella match rotations suggested in this guide require high EEB to execute without any delays. If you do not have enough EEB, you may end up not using your Active Skill buff as often, meaning less than optimized damage. In general, the damage buff from consistently using the active skill is more valuable than the additional 10.5% def bonus from using a maxed def cube core mainstat instead of an EEB, assuming core substats are similar. If using an R-1 build in stable/directional orbits, an ORB may be used, but depending on the stage, 2EEB may be more desirable than an additional oath.
In brute force boss battles, you will not have to use resonance as often so EEB is not required since only the active skill will be used. When in 1:30 battles with R0+, even when stella matched, you may not need EEB either due to the shorter duration of the battle and waiting time between waves that can charge energy.
Active — Reso — Support + CA — (3BA dash) x2 — CA — (3BA dash) x2 — CA — Active — Reso
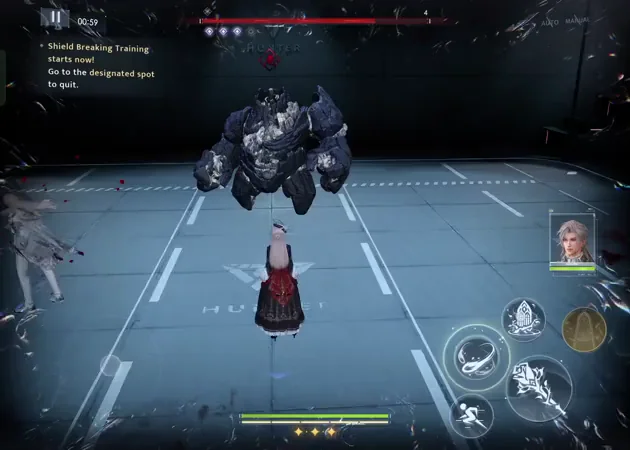
Brute Force Bosses
Active dash — Support + CA — 3BA — reso — CA — (3BA Active dash) + Support — 3BA dash — CA
OR
Active dash — Support + CA — 3BA — reso — CA spam + support
Brute force rotations can vary depending on the enemy but this rotation will generally provide the most damage overall while unlocking CB in the shortest amount of time.
Special State: Crimson Bond (CB)
R0
Crimson Bond — 3CA — Hold Active — 2CA — Special Reso
R1+
Crimson Bond — Hold Active — 2CA — Hold Active — 2CA — Special Reso
Signature Weapon: Crimson Malison
Column_kit
Skills
Note
Rose Spike
Basic Attack
Up to 4 attacks in a full combo string.
Column_kit
Skills
No Rose Mark
Consuming Rose Mark
Note
Rose Spike
Charged Attack
Sylus’ passive skill grants you a fully charged rose mark (RM) when entering battle. Hitting an enemy with a charged attack when RM is fully charged will consume RM to do extra damage (shown as larger red spikes). Charged attacks without RM will do normal charged attack damage.
Column_kit
Skills
Note
Rose Scent
Active Skill (10s CD) (1 energy cost)
Does no damage at time of casting but for the next 8s, all your other damage (including oath) increases by 15%. Also makes you unstoppable for 8s.
Note
Rose Rain
Passive skill
When in the CB special state, the active skill is replaced by a special active skill - see below for more information about Sylus’ special state.
Companion skills
Column_kit
Skills
Note
Crimson Break
Support skill (10s CD)
Sylus shoots a ray of energy in a straight line at enemies. Empowered support skill: Deals additional damage on top of normal support skill damage.
Support inside Crimson Bond
Crimson Break becomes Crimson Void inside the CB special state and cannot be manually activated - see below for more information about Sylus’ special state.
Column_kit
Skills
Note
Crimson Coffin
Resonance skill (15s CD) (2 energy cost)
Consume two energy charges to break 1 protocore shield (2 when stella matched) with one hit. It will also group mobs in the area.
Sylus gives you a Rose Mark that takes 10s to recover. This skill is covered in the weapons details section above.
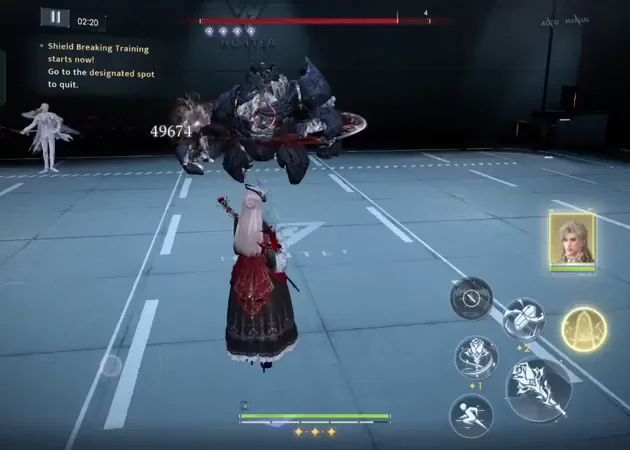
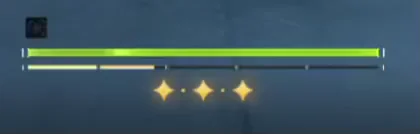
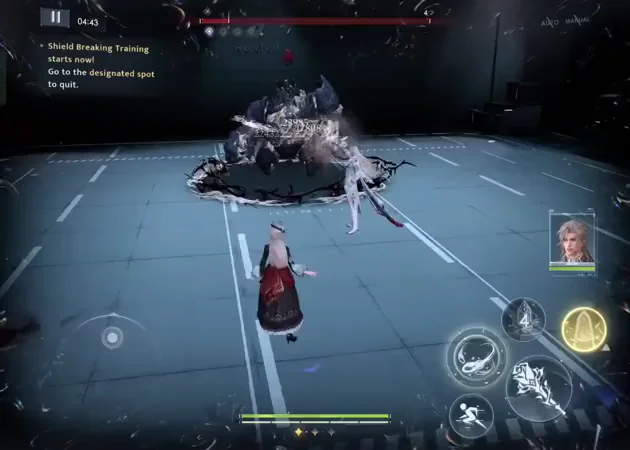
Sylus’ special state (Crimson Bond) becomes available when the yellow bar below MC’s HP is filled (100 points). Certain attacks that land on enemies will charge the bar - from most charge to least charge per attack: resonance skill > rose mark > support skill > basic & normal charged attacks. Normal active skills do not hit enemies, so using it does not fill the bar. None of Sylus’ own attacks contribute to the filling the bar.
Special State: Crimson Bond (CB)
In the CB special state, the support, active and resonance skill button functions are all changed. CB has no time limit and can last forever if you do not activate the special resonance skill (UR). The goal during CB is to “grow” flowers on the field to maximise UR damage - flowers are stimulated to grow when you use basic/charged attacks and active skills.
Column_kit
Skills
CB Active Tap
CB Active Hold
Skills
Bloodrose Rain
Active Skill
Uses no energy to buff your damage while also firing bullets at the enemy. Every time you use the special active skill, its cooldown extends by 4s (to a maximum of 40s). Holding the active skill button fires more bullets - enough to produce a rose on the field (max 2 at a time). Always hold the active button to grow roses with most efficiency.
Column_kit
Skills
Note
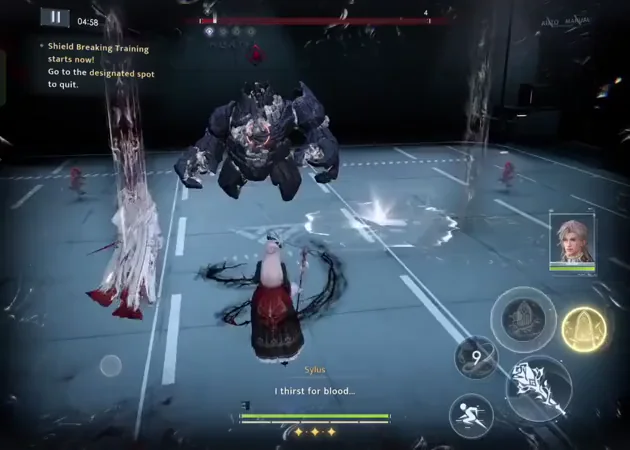
Crimson Void
Support skill
You cannot manually activate Sylus’ support skill while in CB. Instead, it is automatically triggered once a flower grows on the field (usually after the hold-active skill). It is indicated by the blood spikes that shoot up from the ground underneath the enemy.
Column_kit
Skills
No roses on the field
1 rose on the field
2 roses on the field
Skills
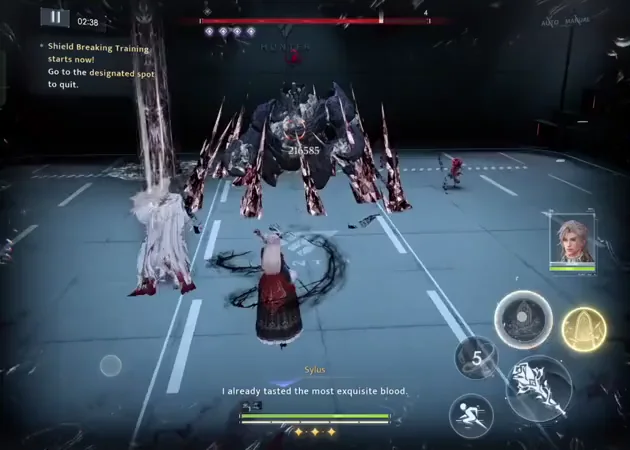
Underworld Rift (UR)
Resonance Skill (8s CD)
This skill consumes no energy and cannot be used to break protocore shields. If UR is used when the enemy is weakened, it will pause the weakness bar timer while the animation plays. UR deals massive damage and can be enhanced further by automatically consuming roses that are on the field at the time of using the skill. Each rose consumed will increase UR’s damage by 30% and is indicated by an additional “window/door” in the UR animation.
Active Pair Bonuses
R0 - Regenerate 0.5 energy whenever you do an enhanced charged attack (consuming Rose Mark)
R1 - Normal state enhanced charged attacks (rose mark) and Sylus’s support skill in the CB special state have their damage increased by 10% - both also have some crowd control and will draw enemies in. When entering the CB special state, your special active skill is immediately ready and has reduced cooldown (you can now use it twice in a single weakness state).
R2 - Enemies hit by Sylus’ support in the CB special state take 8% increased damage for 6s. When a rose is grown in the CB special state, you and Sylus both also heal 5% max HP.
R3 - Sylus deals 10% more damage in the CB special state and your active skill grants a larger damage buff. Basic and charged attacks also do more damage.
Once your CR team achieves 5000 DEF, it is recommended to start focusing on building for D2W/Crit instead of def
Preset
Always check cores before starting battle.
About EEB
The stella match rotations suggested in this guide require high EEB to execute without any delays. If you do not have enough EEB, you may end up not using your Active Skill buff as often, meaning less than optimized damage. In general, the damage buff from consistently using the active skill is more valuable than the additional 10.5% def bonus from using a maxed def cube core mainstat instead of an EEB, assuming core substats are similar. If using an R-1 build in stable/directional orbits, an ORB may be used, but depending on the stage, 2EEB may be more desirable than an additional oath.
In brute force boss battles, you will not have to use resonance as often so EEB is not required since only the active skill will be used. When in 1:30 battles with R0+, even when stella matched, you may not need EEB either due to the shorter duration of the battle and waiting time between waves that can charge energy.
Recommended Rotations
CR performs best when using his signature weapon. It is NOT recommended to use the hunter claymore at all unless you intend to completely ignore the companion kit and depend only on the hunter claymore’s raw damage.
Stella Matched teams
R0 & R-1
For all mentions of CA below, make sure to dodge-cancel the animation after it has started.
EEB should be 24% (one level 15 core) on R0 to have enough energy to reliably execute the below rotation. R-1 needs 2 EEB cores (48% EEB is ideal) for optimal damage. Note that these are recommendations to be able to follow the rotations below - if you have lower EEB, you can adjust by not using the active skill as often.
Normal State:
Active — Reso — Support + CA — (3BA dash) x2 — CA — (3BA dash) x2 — CA — Active — Reso
During the normal state, focus on consuming 3 Rose Marks to maximise CA damage. One rose mark recharge requires about 6 basic attacks - depending on your comfort level, you can choose to use (3BA + dash)x2 or (2BA + dash)x3 to achieve roughly the same damage output before using an enhanced charged attack.
Expert Note:
Keeping the consistency of the (3BA dash) x2 — CA rotation will make it easier to remember throughout the battle, but you can adjust the rotation to do the third CA after the Active skill to increase its damage, changing the end of the rotation to (3BA+dash)x2 — Active — CA — Reso. It is not recommended to make this change if you are about to put the enemy into weakness because you want to prolong the active skill buff for as long as possible in the weakened state to maximise damage.
Crimson Bond (Special State):
Crimson Bond — 3CA — Hold Active — 2CA — Underworld Rift (UR)
Always hold the active skill during CB to maximise damage - there is no need to animation-cancel this with a dash. It is recommended to use UR as soon as it is available to ensure that you can capture the damage in the weakened state. UR has an 8s cooldown before you can use it, which can make it tight on timing during weakness states. Use CB as soon as the normal resonance animation is over to ensure UR is available before enemies shield up again. At R0, UR can only be buffed by 1 rose bloom during a single weakness state.
Expert note
Depending on the opponent, it may be an option to extend the CB state to use a second Special Active to be able to increase your UR damage. However, this should only be used in battles with multiple waves, where it takes time for the next wave to appear, allowing you to wait for the second active CD to be over.
About ORB:
In 2 minute battles (like stable and energy orbits) with low stats, you may want to use more than the usual recommended 14% ORB (level 9) to be able to oath twice. When using UR as a last second nuke, the animation takes up real battle time and has to be executed with about 3-4s left on the timer. With 14% ORB, the first oath must be used almost immediately when it is ready to be able to use it a second time before using UR. 17% ORB (level 12) can make the timing feel a little less strict in most battles.
About Special Support inside CB:
If you need to use oath during the CB state, make sure to not interrupt Sylus’ support skill or you will lose out on lots of damage. Best options are:
Use oath before using the hold-active skill.
Let Sylus’ support skill animation play before using oath: look for the spikes to start coming out of the ground before tapping the oath button.
Use oath IMMEDIATELY after using the hold-active, and before his support is triggered - this can be tough to time, but doable with practice. If Sylus has started the animation (he will teleport away with a white pillar of light), using oath will cancel his support.
R1+
For all mentions of CA below, make sure to dodge-cancel the animation after it has started.
For ease of gameplay, there is no mandatory change to the normal state rotation from R0 because the CR’s pair bonuses only affect the CB special state.
Normal State:
Active — Reso — Support + CA — (3BA dash) x2 — CA — (3BA dash) x2 — CA — Active — Reso
Crimson Bond (Special State):
Crimson Bond — Hold Active — 2CA — Hold Active — 2CA — Underworld Rift (UR)
With the R1 pair bonus, your UR attack can now make use of the maximum number of rose blooms within a single weakness state. If you find that fitting 4 CA into a single weakness state is too tight on timing, you can use one less CA - it is more important to properly time UR in weakness than it is to get an additional charged attack.
Expert note
With ranks, CR’s gameplay in the normal state allows more flexibility and gives you more options in battle when you have low stats. The active skill can be moved ahead in the rotation to be able to buff rose marks before CB if desired. This is because you can immediately use the special active skill once CB is activated so there is no need to extend the normal active skill damage buff. The downside is that you no longer get to enjoy the benefit of animation cancelling the active skill with resonance and the BA timings are less consistent and harder to memorize. You want to start the Active - CA - Reso sequence right about when the countdown timer on the resonance skill is at 3-4s.
For simplicity, it is recommended to use the R0 rotation.
For example, the normal state rotation can become:
Error
Active - Reso - Support + CA - [(3BA + dash) x2] - CA - [(3BA + dash) x2] - Active - CA - Reso
OR
Error
Active - CA - Reso - Support + 3BA+dash - CA - [(3BA + dash) x2] - 2BA - Active - CA - Reso
OR
Error
Active - CA - Reso - Support + 3BA+dash - CA - 3BA+dash - 2BA+dash - Active - CA - Reso
etc.
Play around with what works best for you, even if it is not one of the above rotations, as long as you can get 3 RM between resonances.
Brute Force Teams
For brute forcing mobs, it is recommended to follow the stella match notes. Resonance is useful to group enemies, regardless of whether they are shielded, and CB (which is the strongest part of the kit) will be during weakness states for the most damage. In most cases, this will mean a hybrid build for the team. If you are using a full crit build, UR can be used outside of weakness since it can crit.
For brute forcing boss battles, a full crit build is recommended. The main goal is to unlock CB state as soon as possible and do massive damage with UR. A no-resonance rotation is not recommended. CR’s resonance takes a lot of time, but provides more damage than basic attacks during the same time span. It also provides a lot of points towards unlocking the special state sooner than depending only on BA. Depending on the stage, using resonance can eventually break all the boss’ shield, so you can also use oath in weakness.
Normal State
Active dash — Support + CA — 3BA — reso — CA — (3BA Active dash) + Support — 3BA dash — CA
OR
Active dash — Support + CA — 3BA — reso — CA spam + support
Make sure to use Sylus’ support at the beginning of the rotation to make sure you can get a second one to help charge for the CB state. His support also does huge damage when executed completely, so CA — 3BA to let it play out before using resonance. RM will be charged again once the resonance animation is complete, which optimizes timing.
You can use continuous CA spam after resonance as long as you make sure to fit 3 RM per normal state rotation. CA generally does more damage than BA, but charges RM and CB slower - choose between whichever option maximizes damage for your team/stage.
While in the Crimson Bond special state when NOT in weakness, you want to use UR as soon as it is ready, so that you can immediately start stacking for the next CB state.
In stable open orbit stages, you should be able to fit 4 CB states in a single stage to maximize damage. In SHC stages or when trying to 3* FOO stages, you may have to adjust the rotation based on the types of enemies in the wave(s).
v2.0 - brute force guide by @jayci_3280 v1.1 - added presets by @jayci_3280 v1.0 by @jayci_3280. Proofreading by @kemrian